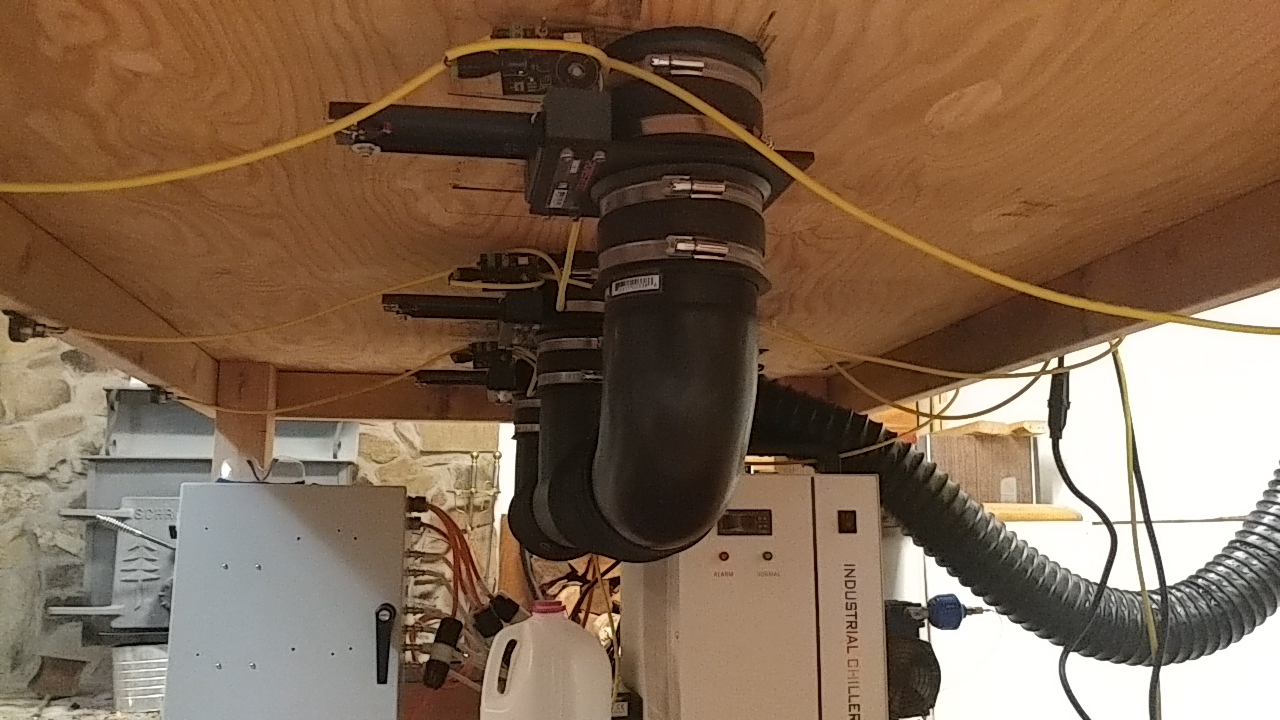
For my laser cutter, I did not want the fume extraction system to be open to the outside when the laser was not in use. I added some blast gates (valves) to the piping but did not like having to manually open them because they are behind the machine and hard to reach.
I came up with a method of mounting a gearmotor to the valve and using a GT2 belt to move the valve between open and closed positions. The gear motor runs off of 12V.
Once I had a mechanical design that worked, I set about designing a PCB that would mount to the motor. The PCB has a dc barrel jack to provide power and a terminal block with 3 positions: +12V, GND, IN. The power terminals are used to daisy chain power between multiple valves, and the IN terminal is what is used to open the valve. The input can be daisy chained as well. In my setup, the two valves leading outside are controlled by the laser cutter power switch and open together.

The schematic is fairly simple, it is just using a DPDT relay to reverse the motor direction depending on the state of the relay. The motor then drives to where it hits the limit switch and cuts power to itself. There are 4 pins arranged in a square that allow for the motor direction to be configurable. I found that different gearmotors and even ones among the same batch do not come with the same polarity. Instead of having to disassemble them (which would be messy due to the grease) to flip the motor, the pin header allows you to add jumpers to change it if needed. There is also a manual open switch and the motor is protected by a poly fuse in case any debris becomes lodged in the blast gate.
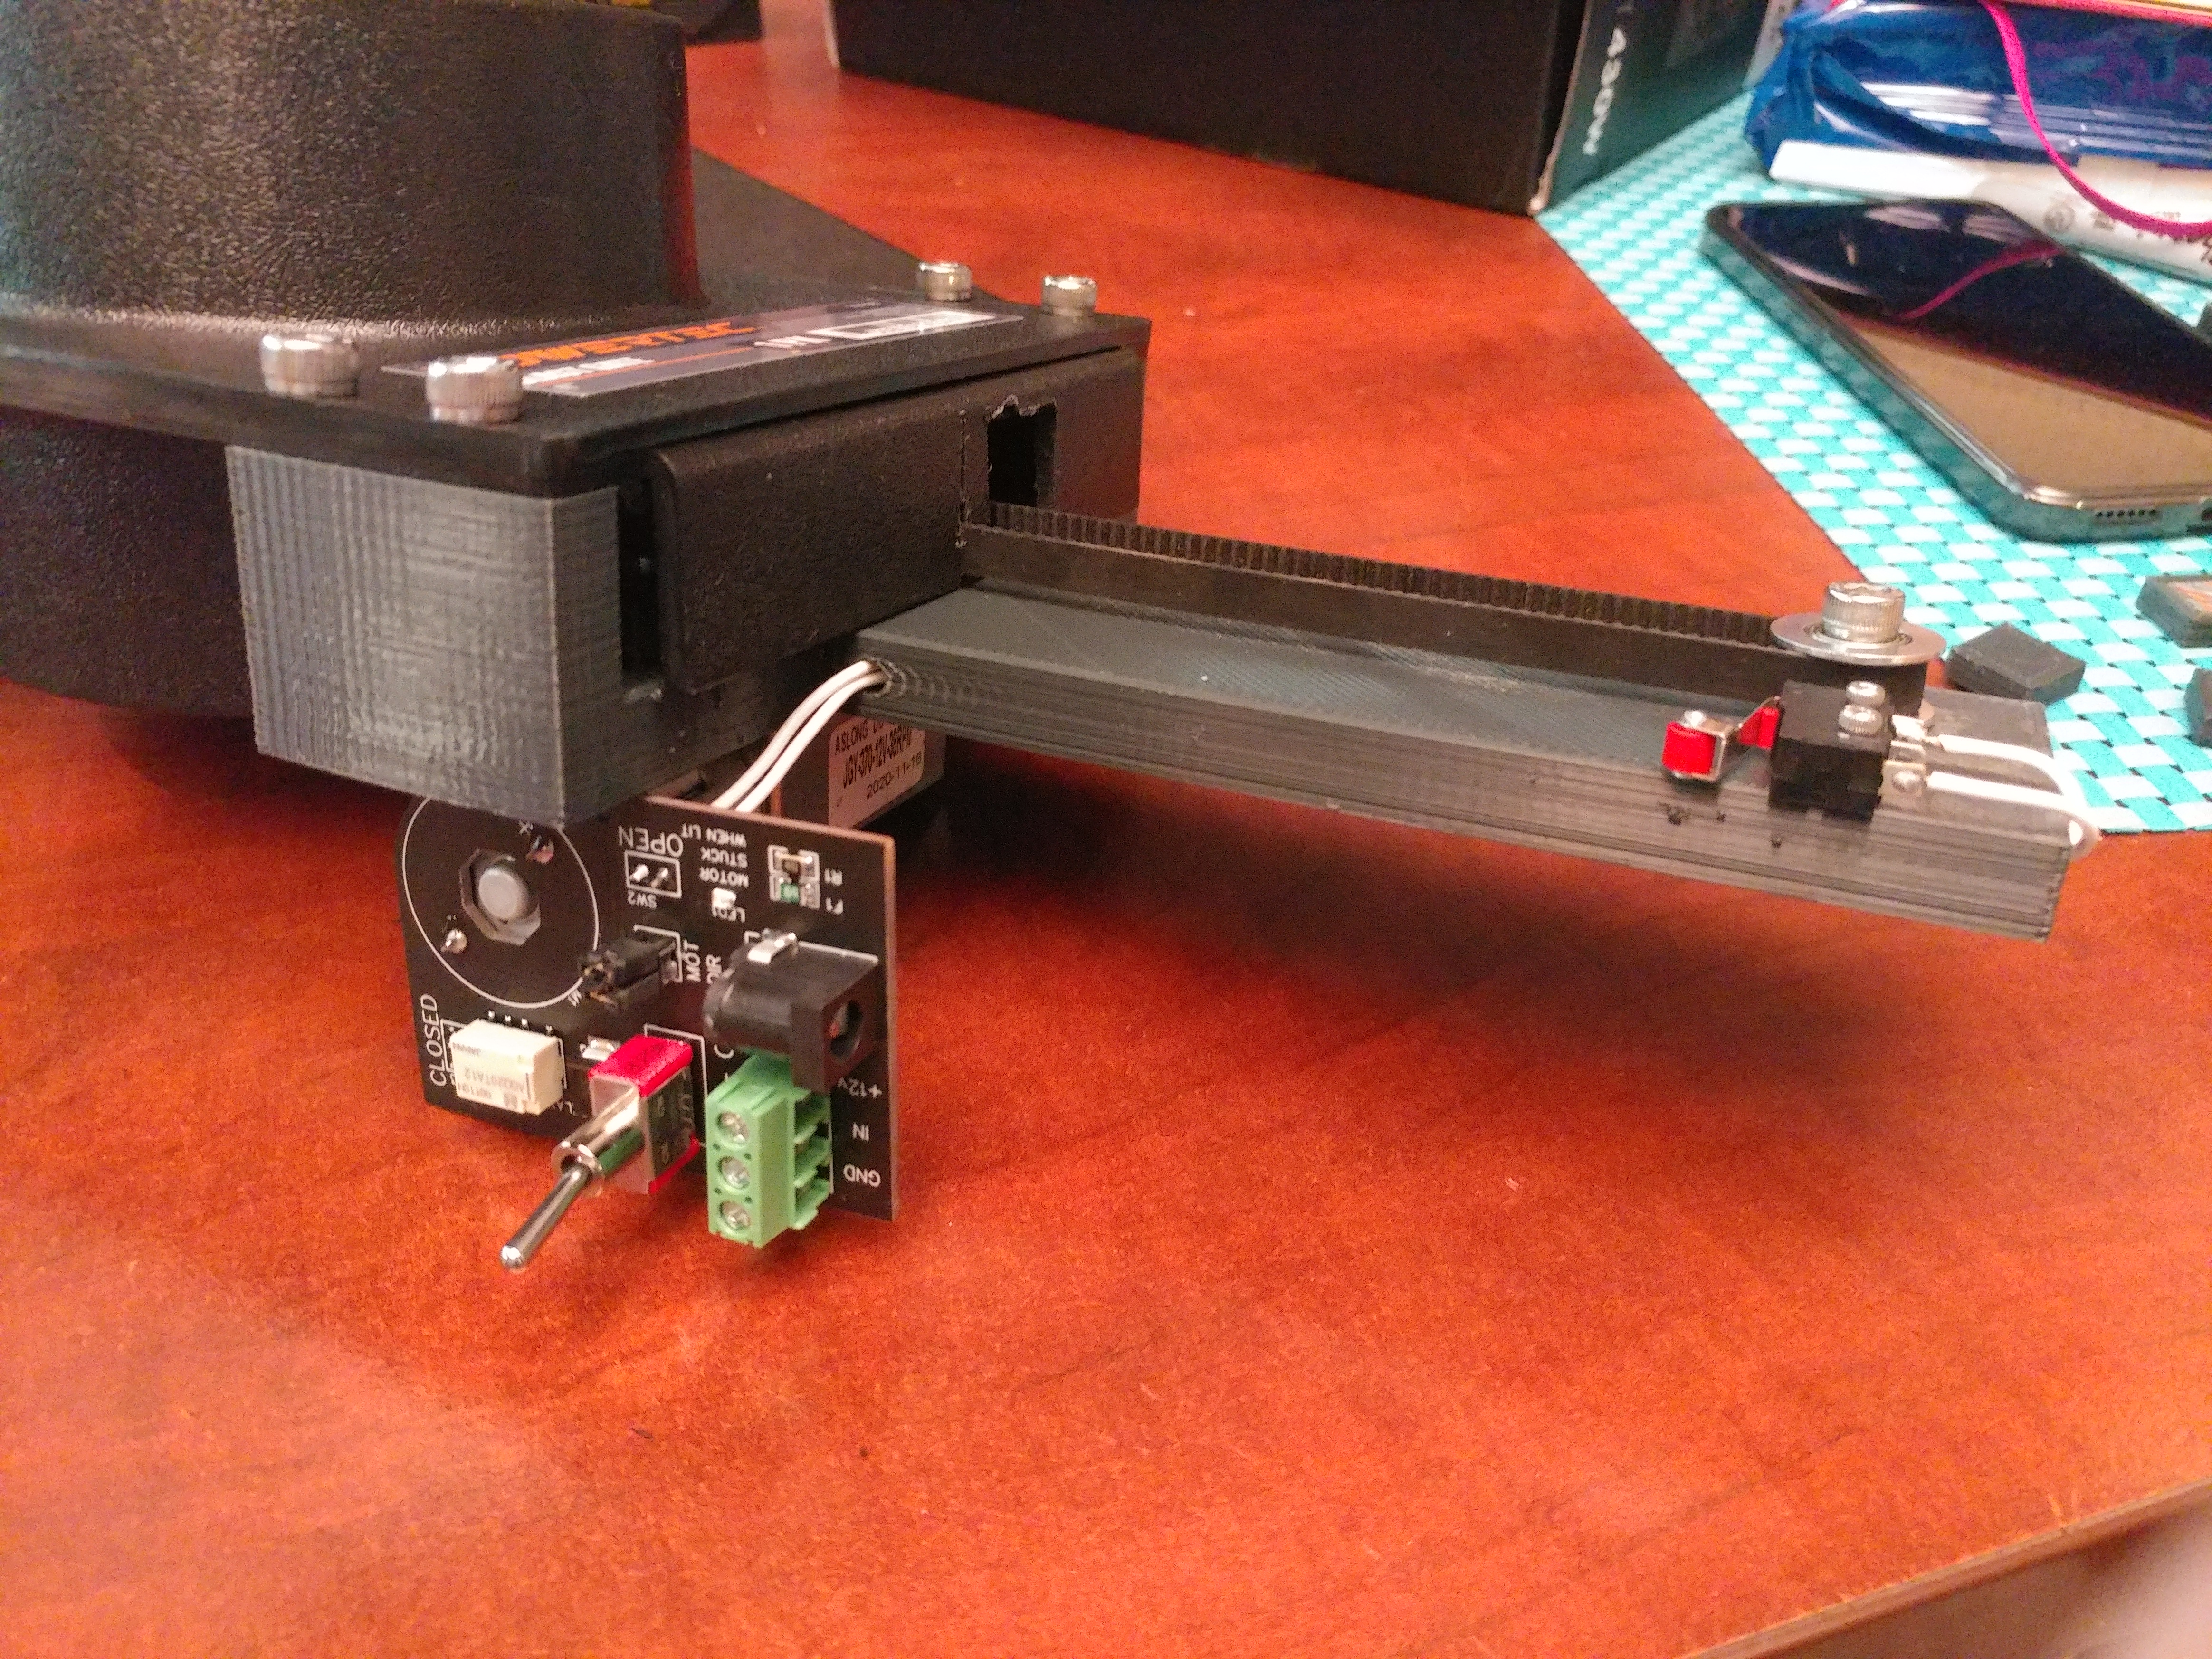
The blast gate "shutter" is just friction fit onto the belt. I have had a couple wear out from use and added some epoxy to secure it better. The limit switches stop the motor once it has reached the end of travel.
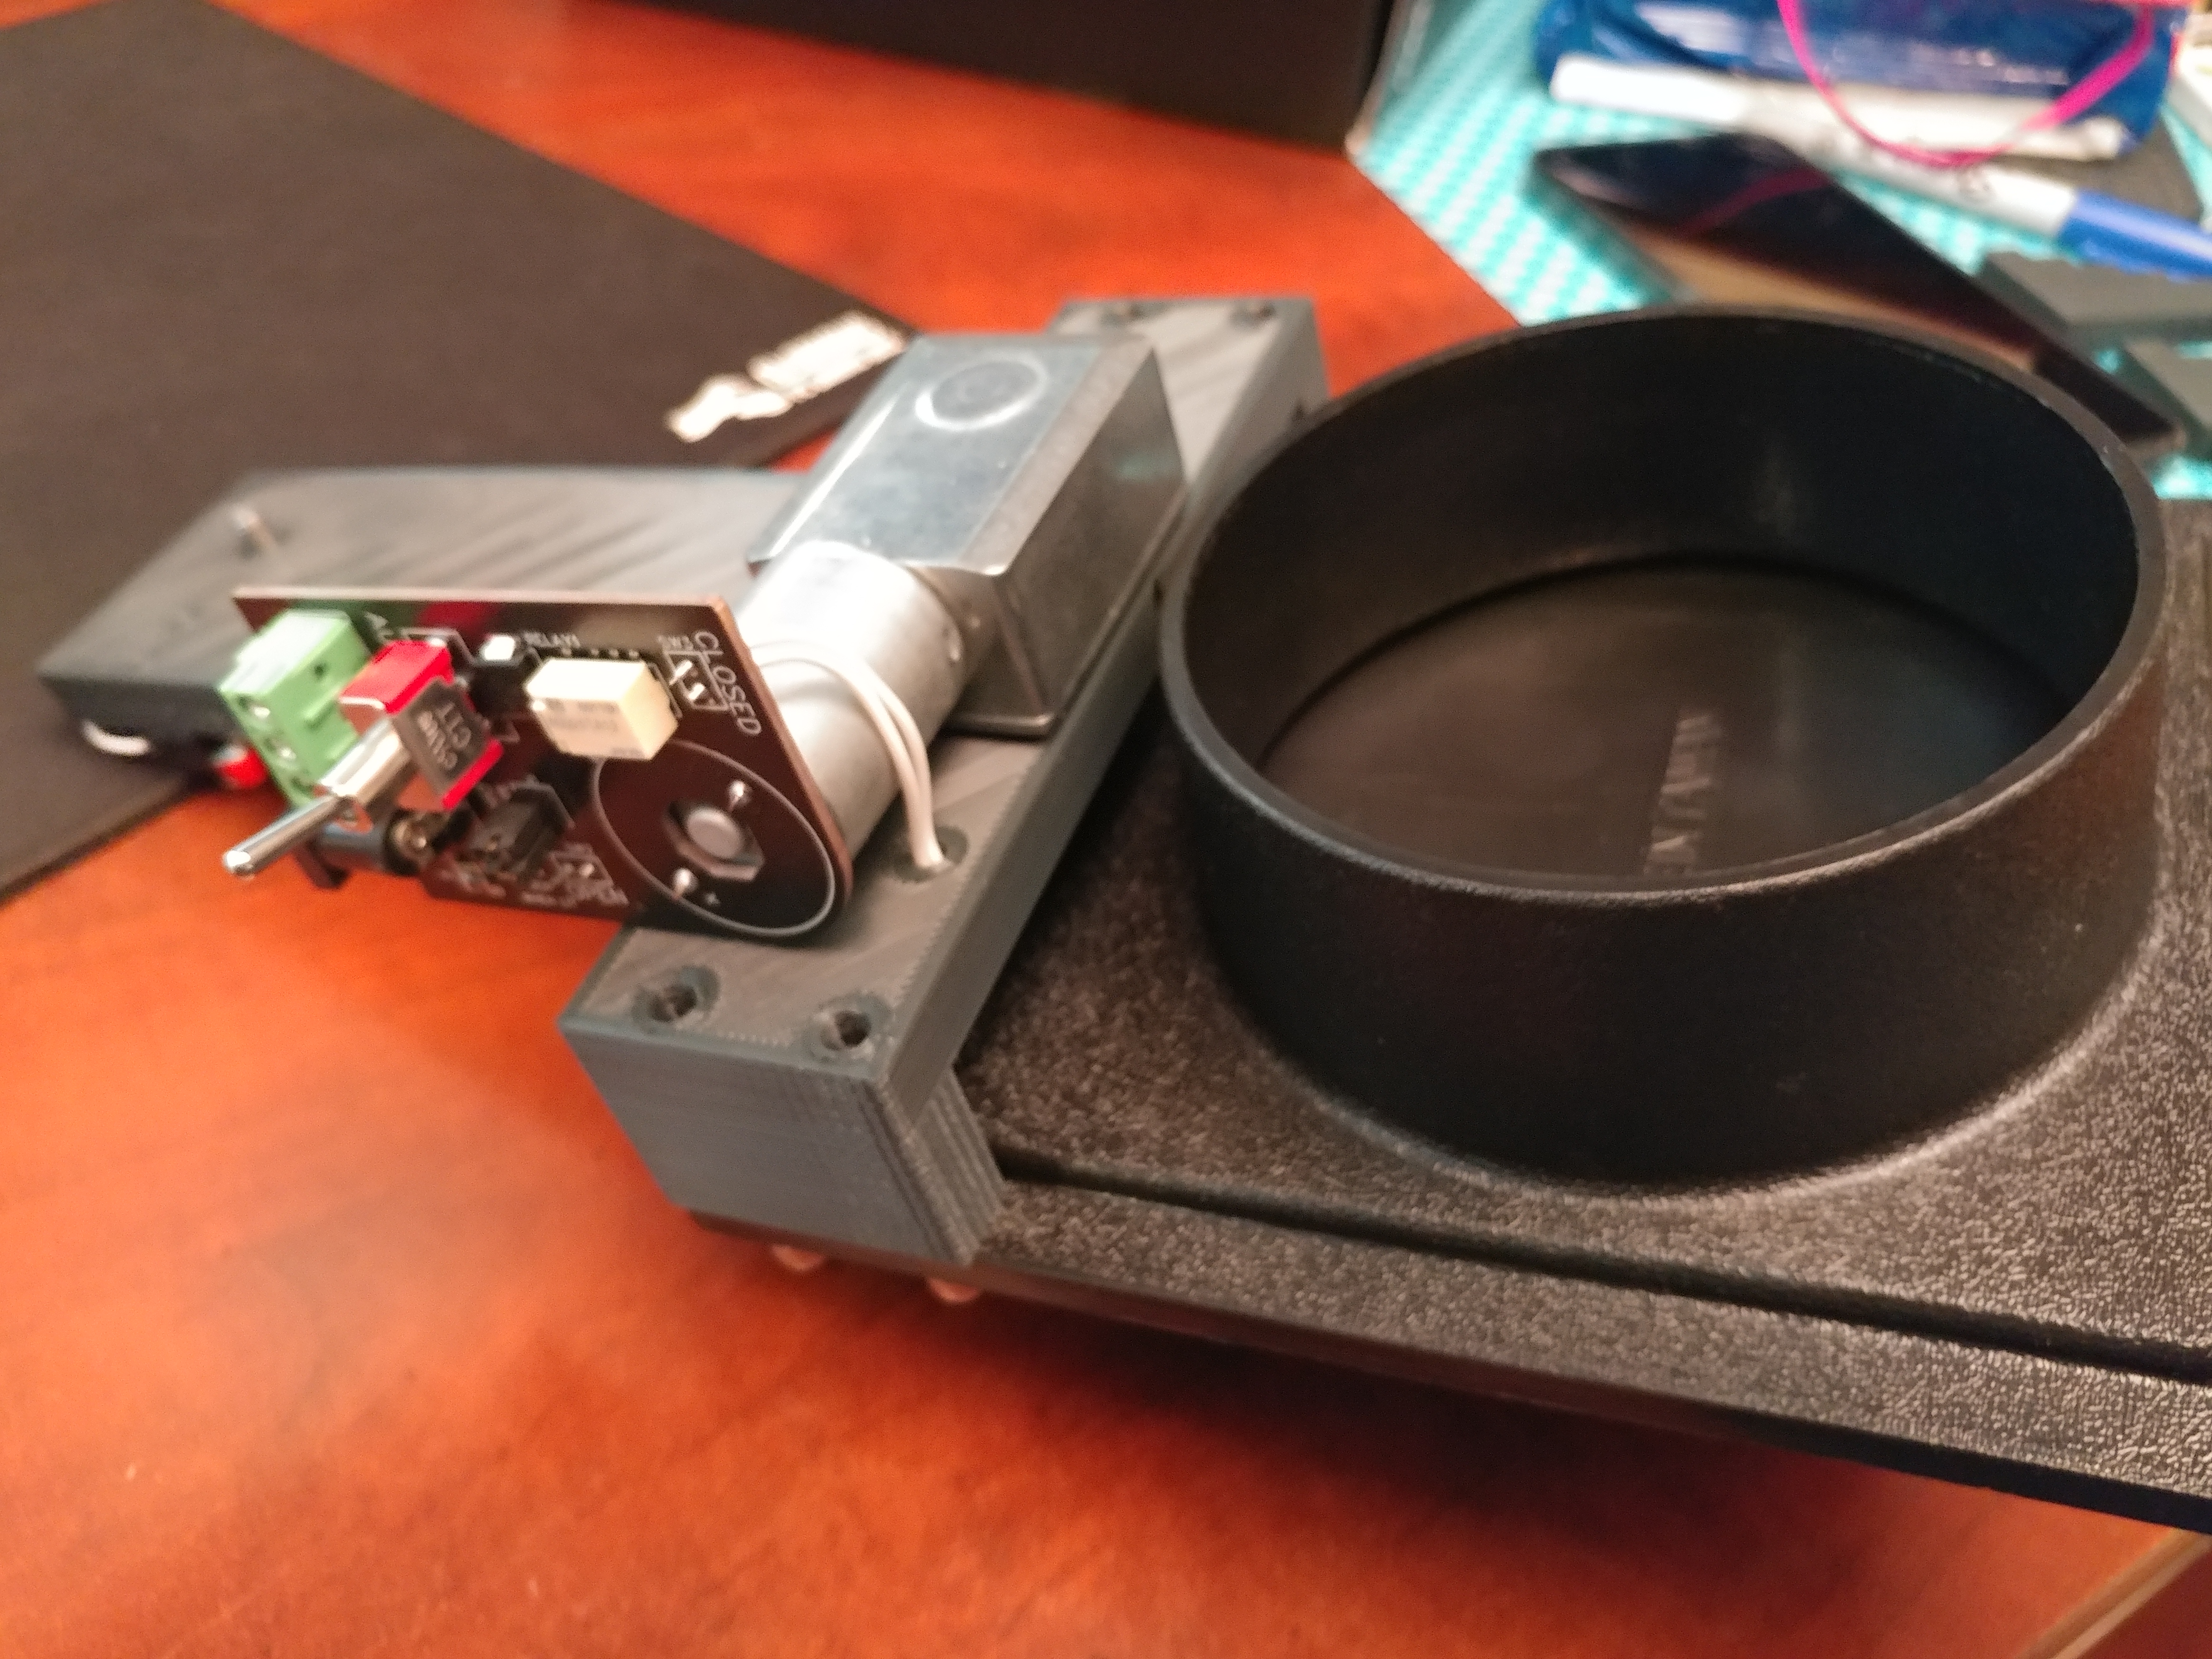
The pcb is mounted to the valve via the motor terminals. One thing I could have done differently is move the screw terminals to be closer to the motor pins. That would have reduced the stress on the PCB when tightening the terminals.
For the table, I wanted to be able to zone the fume extraction so that I could concentrate it on a certain end of the table if needed. I mounted some toggle buttons on the front of the table that control the intake and exhaust valves for that third of the machine.
It was a little annoying needed to use screw terminals for connecting these, but it ended up working pretty well.
Things I would change on the next revision:
- As mentiond above, I would put the screw terminals nearer to the motor to reduce stress on the PCB.
- Regarding the terminals, I would change them for pluggable ones so that they could be wired up then plugged in, further reducing stress on the board and making it easier to wire up instead of having to reach up under the table.
- Feedback! I would add additional limit switches so that the fully open/closed status could be determined. Would be nice to integrate that to the emergency stop circuit of the laser so that if a blast gate fails to open, the machine wont run.
- The manual override switch is currently just automatic and open. There is no way to force close the valve. It would be a nice feature to have.
Here is a demo of the blast gate in action: